Running shoe lacing techniques: the heel lock and 4 other fixes
Heel slip, pressure on top of the foot, wide feet, cramped toes: the lacing pattern that fixes each one, step by step.
Published Oct 27, 2026
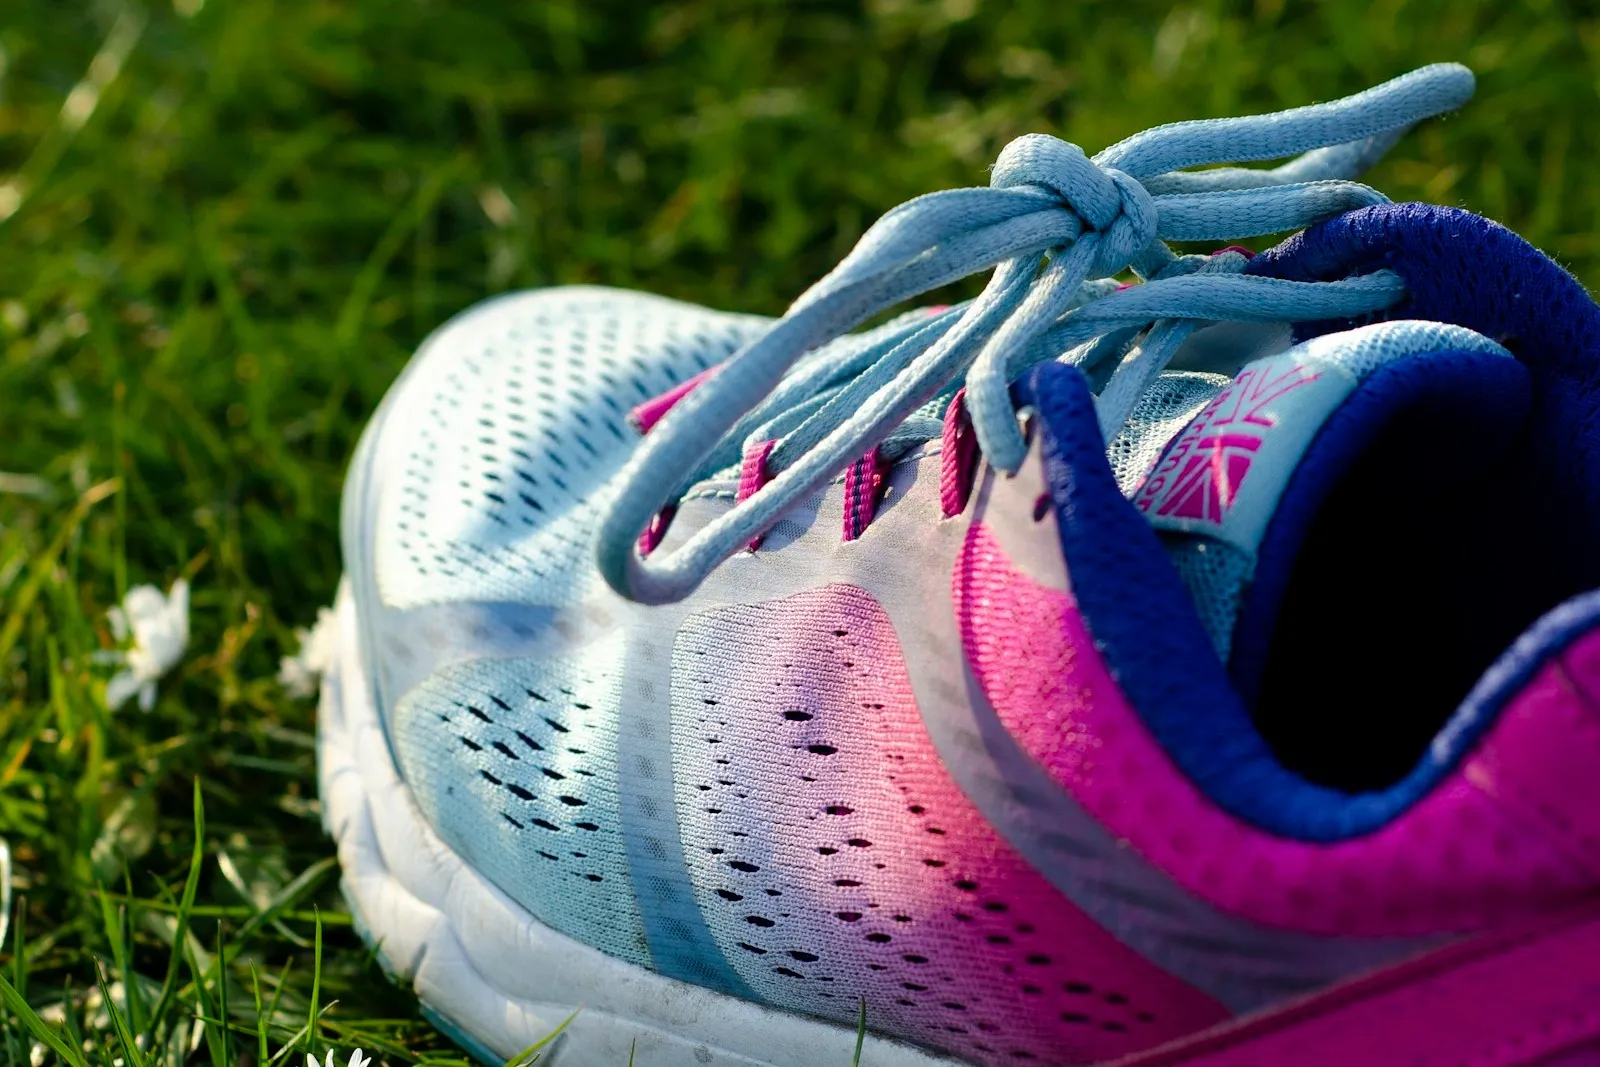
You spent hours picking your running shoes, then laced them exactly like your school sneakers. A few different lace paths fix most small fit problems: heel slip, pressure on top of the foot, cramped toes.
1. Standard criss-cross: the baseline
The lace crosses from side to side at every row of eyelets, which spreads pressure evenly over the top of the foot. If nothing bothers you, change nothing: it’s how shoes leave the factory, and it works for most runners.
2. Heel slip: the heel lock
This is the most useful lacing in running, and the reason that last, seemingly spare eyelet exists. At the second-to-last eyelet, instead of crossing over, thread the lace up on the same side into the top eyelet, leaving a small loop. Do the same on the other side, then pass each lace through the opposite loop and pull down.
The collar closes around your ankle, your heel stays locked in the back of the shoe, and you don’t need to tie everything like a tourniquet. It’s also the one to try if you get blisters on the back of your heel or your toes hit the front on downhills: both are signs of a foot moving inside the shoe.
What the research says: one study compared six lacing patterns on 20 runners (Hagen and Hennig, 2009). Tight lacing that went all the way to the top eyelet gave lower impact loading rates and slower pronation than loose or low lacing. Low lacing raised pressure under the forefoot, probably because the foot slid inside the shoe. The authors conclude that a firm foot-to-shoe coupling makes better use of what the shoe offers.
3. Pressure on top of the foot: window lacing
Feel pressure or tingling on top of your foot, always in the same spot? Unlace down to that point. At the row that presses, don’t cross: run each lace straight up to the next eyelet on its own side, then go back to criss-crossing above. You leave a lace-free “window” over the sensitive area, and the rest of the foot is still held.
4. Wide feet: straight lacing at the front
On the first rows at the toe end, run the laces straight up without crossing, then criss-cross as usual from midfoot. The front of the shoe can open up a little more, and the hold moves higher, where it matters for stability.
If your forefoot still feels squeezed with the laces almost loose, lacing can’t help: it’s the shape of the shoe. Several models come in a wide fit, and they’re all in our wide running shoes selection.
5. Cramped toes: skip the first eyelets
Start lacing at the second row of eyelets instead of the first. With no lace pulling on it, the toe box keeps more volume for your toes. Handy with a sensitive toenail, a bunion, or toes that just want more room late in a long run.
Three adjustments worth more than any pattern
- Tie it in two zones. Lacing doesn’t have to be uniform: an extra knot at midfoot keeps the front relaxed and the top firmer.
- Check again after 10 minutes. Feet swell as you run, especially in the heat and on long runs. What felt perfect at the start can pinch at mile 10.
- A double knot stops laces coming undone, and it pulls apart as easily as a single one if you tug both ends.
When lacing isn’t the answer
No lacing technique fixes a shoe that’s too short, too long or too narrow. If you need to pull very hard to keep your heel in, or your toes touch the end, revisit your size with our running shoe size chart: it compares brands’ size grids, which don’t all fit the same.
Sources
- Hagen M., Hennig E. M., “Effects of different shoe-lacing patterns on the biomechanics of running shoes”, Journal of Sports Sciences 27(3):267-275, 2009, PubMed.
Questions and answers
What is the extra eyelet on running shoes for?
The last eyelet, often set slightly back, is there for the heel lock (also called the runner’s loop): you thread the lace up on the same side to make a loop, then cross each lace through the opposite loop. It holds your heel in the back of the shoe without cranking down on the top of your foot.
How do I stop my heel slipping in running shoes?
Start with a heel lock on the top two eyelets. If your heel still slips, the shoe may be too long or too roomy at the heel: check your size before you pull the laces any tighter.
How should I lace running shoes for wide feet?
Run the laces straight up, without crossing, through the first eyelets at the toe end, then criss-cross from midfoot up. The forefoot gets more room and the hold moves higher. If that’s not enough, look for a wide version of the shoe.
Should I lace differently for trail running?
On descents your foot slides forward, so a heel lock helps keep your heel in place and your toes off the front of the shoe. Lace the top a little firmer than the bottom, and check again after a few minutes, once your feet have swollen.